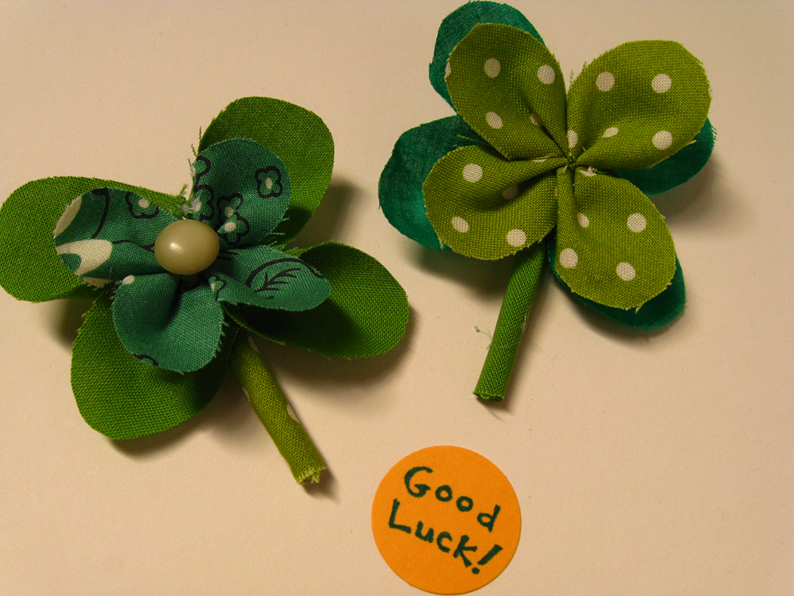
Shamrock pin
Feelin’ a wee bit crafty? Give your look a festive touch with this quick and easy St. Patrick’s Day craft. You’ll need:
- Hot glue gun
- Needle
- Thread
- Scissors
- Pen
- Safety pin
- Green fabric scraps
- Two templates, one slightly larger than the other (make your own from paper or cardboard, shaped like the ones pictured below)
- Buttons (optional)
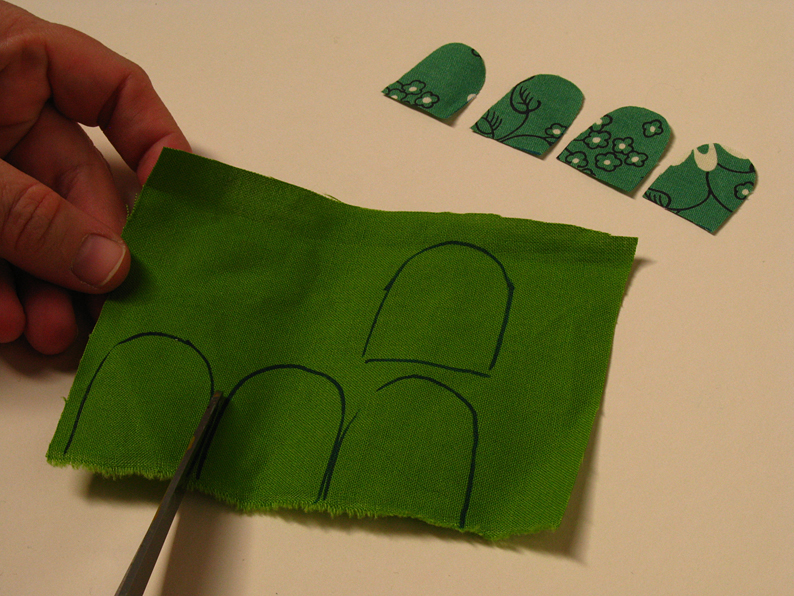
1. Make your templates based on the picture shown. These will be the leaves of your clover.
2. Trace the larger template four times on one scrap of green fabric.
3. Trace the smaller template four times on a different scrap of green fabric.
4. Cut out all the leaves.
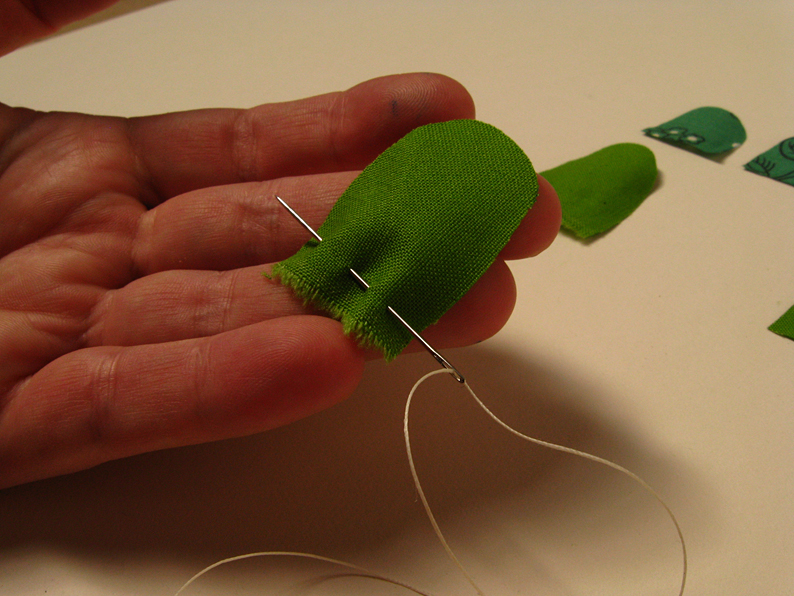
5. Thread a needle and knot the end. Stitch the larger leaves as shown.
6. Leave should look like this when your stitching is complete.
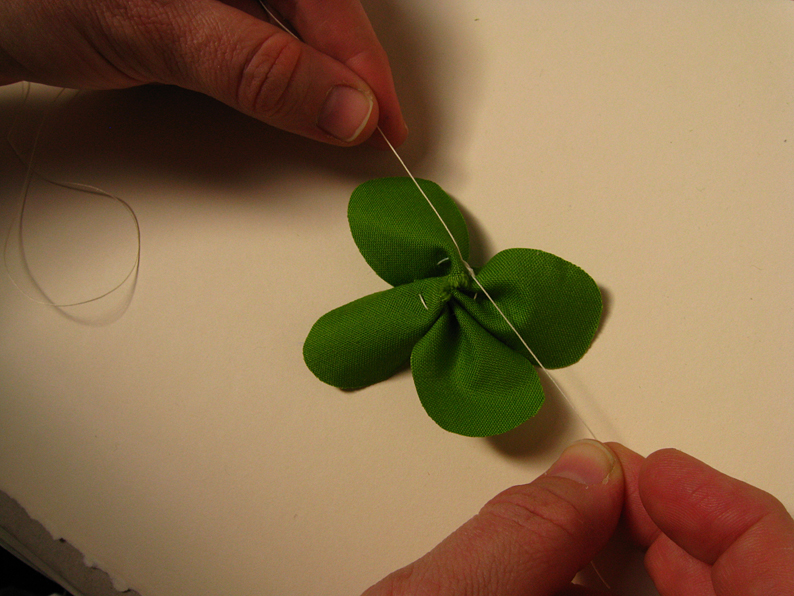
7. Slide leaves toward the knot so they begin to scrunch up.
8. Cinch them together by knotting the thread ends together. Do this so the leaves are cinched, but leave a little bit of slack so you can move the leaves around a little bit.
9. Clip the thread close to the knot.
10. Fluff the leaves up so it looks four-leaf-cloverish. Repeat stitching and cinching with the smaller leaves, using a new piece of thread.
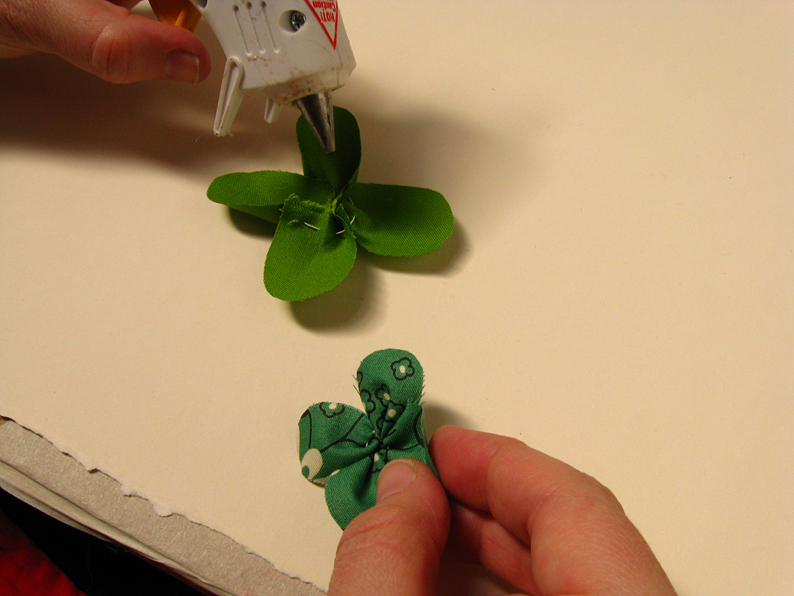
11. Using a hot glue gun, put a smallish blob of glue in the center of the larger clover.
12. Place the smaller clover on top of the larger clover and press down to bond.
13. Cut a small square of fabric – about a 1.5-inch square. This will be the stem!
14. Tightly roll up the scrap of fabric.
15. Put line of hot glue on the edge of the rolled fabric and hold it for a second to secure the edge.
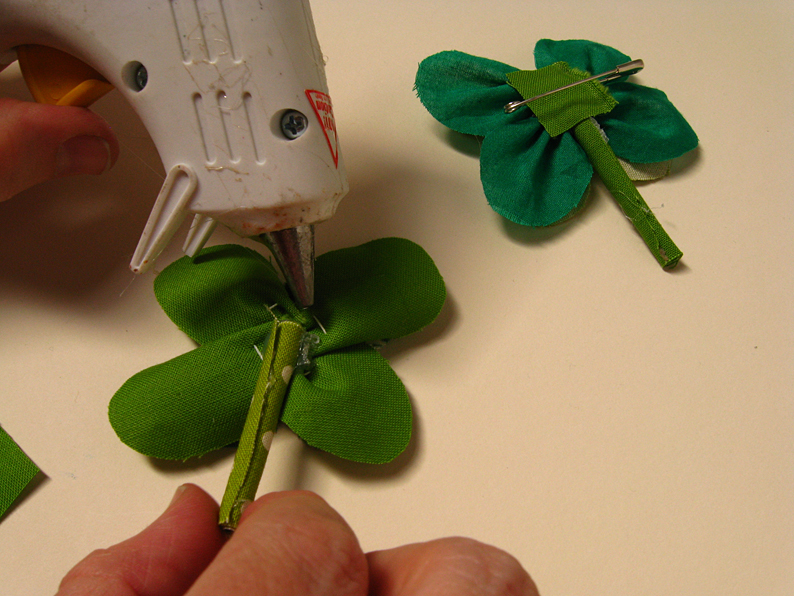
16. Put a good-sized blob of glue on the back of the clover and press one end of the stem into it – hold until glue sets.
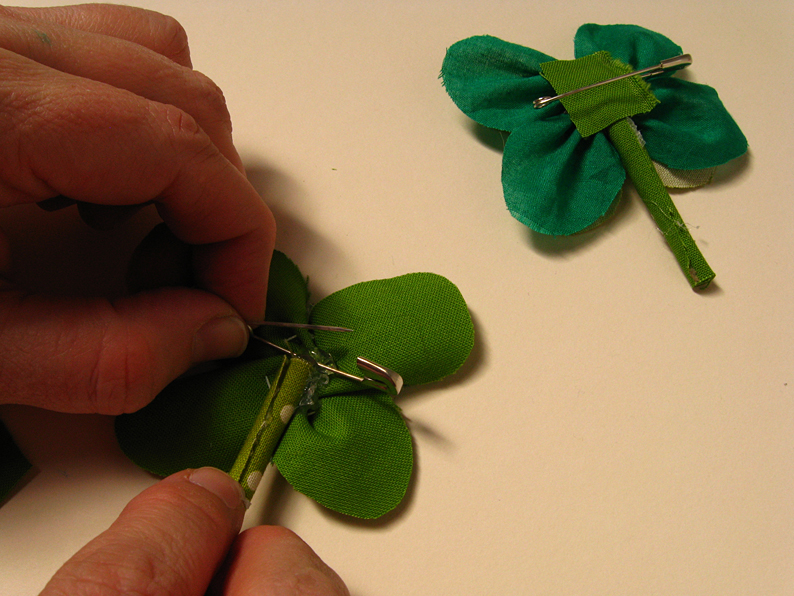
17. Put another generous blob of glue just above the stem.
18. Press the safety pin into the glue — open the pin first and glue the non-opening edge of the pin to the clover. Be careful with the pointy part!
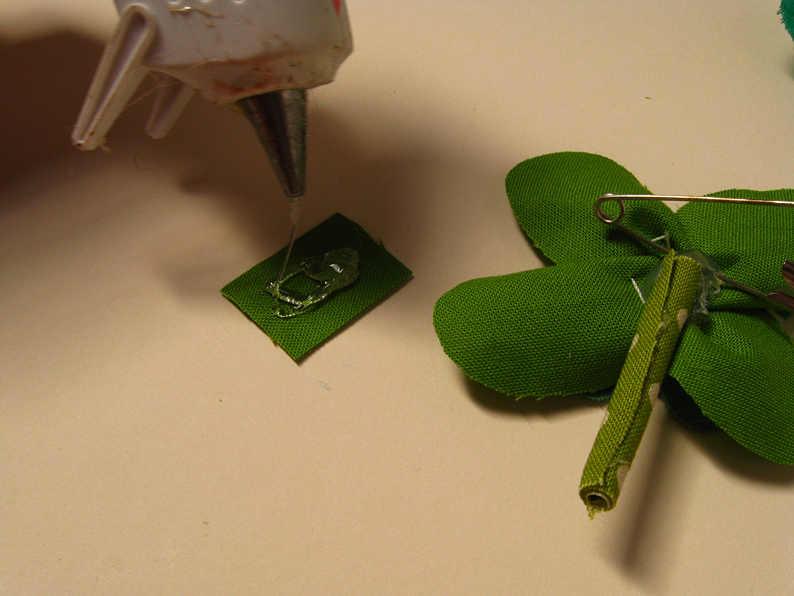
19. Cut a small scrap of fabric and cover one side with glue.
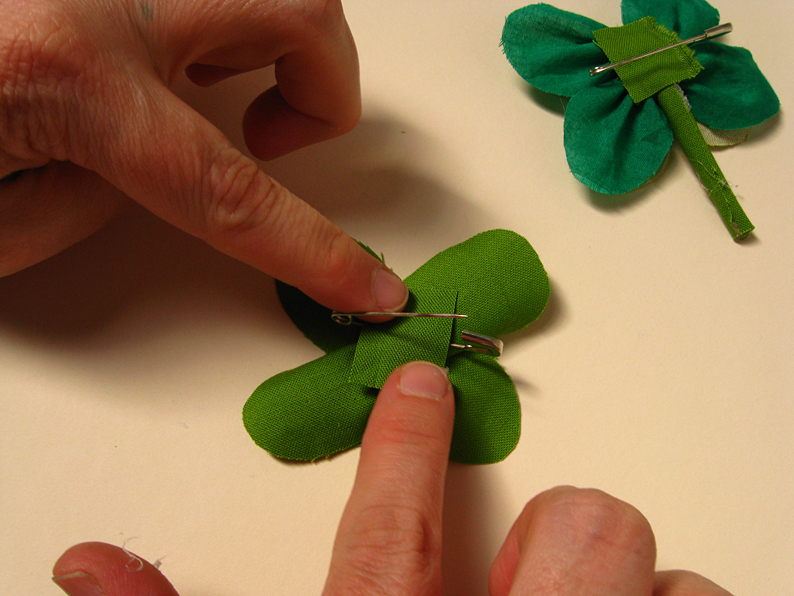
20. Press this over the glued pin edge and top of the stem. This will make the pin and stem extra secure.
21. If you like, glue a button to the center of the clover. Wear your pin and be the envy of leprechauns!
-
Recommend this
on Facebook -

Report an error
-

Subscribe to our
Weekly Digest










There is 1 reader comment. Read it.